
JJ Casas
San Francisco-based portrait & commercial photographer &
creative director.
Sharing my thoughts as a photographer, cinematographer, marketer, and copywriter.
JCasas Photography | The Blog
© 2025 JJ Jumoc-Casas
jcasasphotography.com
How I Frankensteined my light meter to my strobe trigger
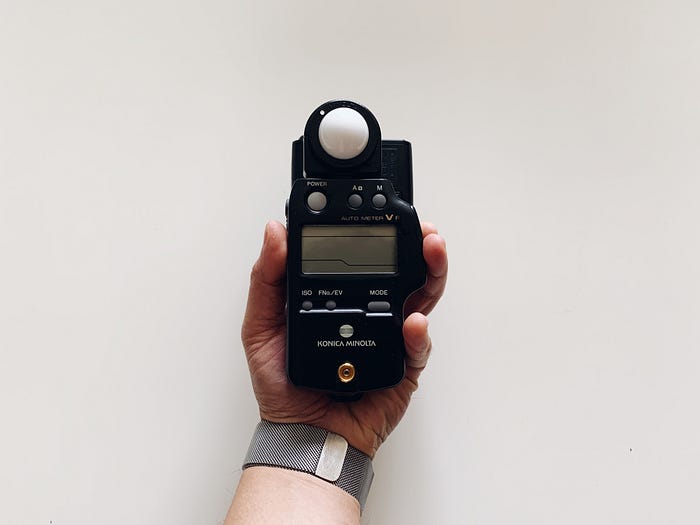
I came across an older issue of PDN magazine and it covered Sekonic’s newer L-858D-U — their flagship multifunction light meter with truly all the bells and whistles. While I’ve never owned a Sekonic light meter, I have had my Minolta Auto Meter IVF for over a decade (this amazing piece debuted in 1992) and still use it today.
While I recently converted to Godox’s AD200 flashes as my main strobes, (formerly used a couple of Minolta 5600 flashes then upgraded to Paul C. Buff’s Alien Bees and eventually their Einstein line), I was always jealous of Sekonic’s integration of PocketWizards which allowed one to trigger the lights to meter seamlessly. To this day, I’d have the transmitter that goes onto my camera in one hand to fire the lights after pressing the meter button on the light meter in my other hand.
I Googled learned that Sekonic is looking to integrating Godox soon but after realizing I had a spare transmitter, I figured I’d just literally put my transmitter onto my light meter.
Materials:
- Minolta Auto Meter IVF
- Godox 1XT Transmitter
- Cold shoe
- Paper clip
- Loctite superglue

My trusty Minolta Auto [Light] Meter IVF next to the Godox X1T transmitter
When I first put the transmitter onto the coldshoe, I realized it didn’t go in because the contact pins were getting in the way — these pins are needed to touch the camera’s hotshoe when firing off the flashes. Since I’m not mounting this on camera, I had two options — use a dremel tool to shave off the pins or just use superglue to keep them down. I chose the latter.
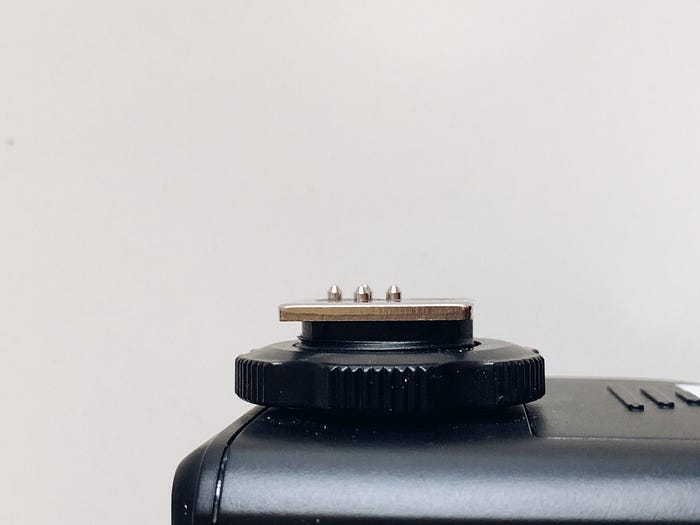
These pins will get stuck on the cold shoe’s holes so you’ll need to either sand it down or glue it down.

I added a drop of glue onto each pin, let it set for a bit and then pushed down the pins with a paperclip until it finally became flushed.
The easiest part is attaching the cold shoe onto the light meter; finding a spot that made the most sense was the hardest part. After seeing what would make it possible to press the meter button and the test/fire button with one hand, I opted to place it right behind the diffuser dome.

Do note that this cold shoe has an anti slip pin on the bottom. Not really needed here but it does prevent the transmitter from going all the way down when installing for use.
After letting the glue set, I have my Frankensteined Minolta Auto Cord Godox Light Meter:
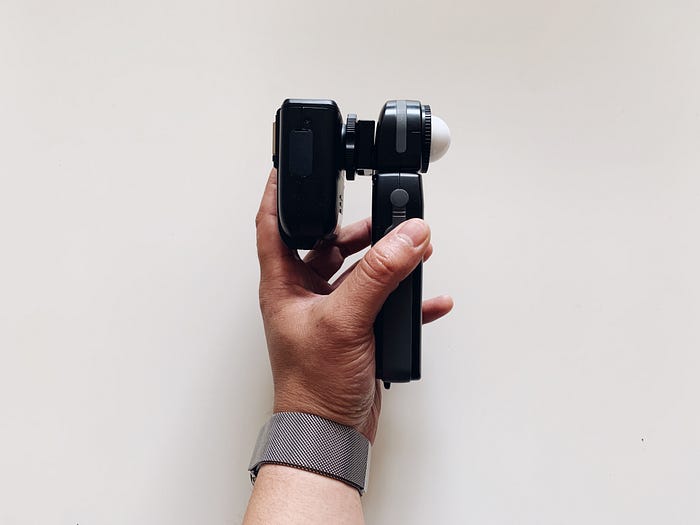
One hand operation: middle finger presses meter button (its Non-Cord mode basically tells the light meter to wait for a flash before taking a reading); index finger fires the test button on the X1T transmitter.


Action GIF: prepping the light meter before firing the light with one hand.
Action GIF: I can easily see which lights are on, their power level and make the adjustments as needed.
Yes, it isn’t the most sleek integration as it’s literally two devices stuck together but it does solve my need to meter and fire off my strobes without having to spend anything more for the unreleased Sekonic light meter that will do exactly this.
And yes, I won’t be storing this Frankensteined piece like this before/after the shoot — it’s mounted on the cold shoe so it can easily be removed for storage.